Poster 1:
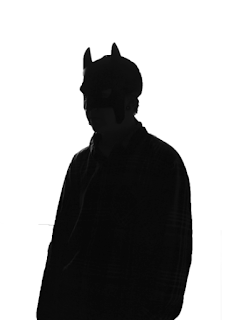
To start of some of my experimental pieces I took this silhouette image of myself wearing a Batman mask to create the double exposure I am going to have to remove all of the background other than the main body that i want for the end piece.

 To do this i simply opened the image up in Photoshop and then used the quite selection tool and highlighted the areas that I wanted, then went to select, Inverse and then backspace it left me with this.
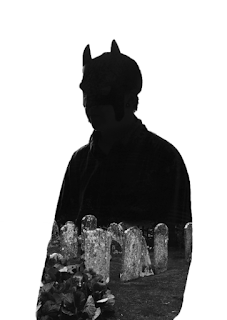
The next thing for me to do was start to adding the next layer of images, to do this i simply when to file, place... and selected my image.

 Once I placed my image i had to make sure that it fitted all the way over the batman silhouette then in the tool bar section i went over to the drop box and chose the option 'Screen' and it turned out like this. I was not happy with the way this looked because you couldn't see the nice reflection on the face and didn't want to just end up using one image in my final piece.
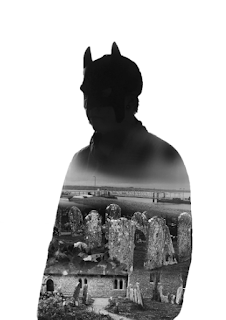
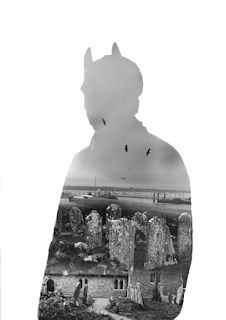
 From just using the eraser tool i removed all of the part of images that i didn't feel i wanted to keep. i then added the next two images in the same way as the first one, erased all of the parts i didn't want and then pieced it together so they almost look like one image. The last thing that i had to add was the clouds on the main face so that it all ended up looking like one image.
No comments:
Post a Comment