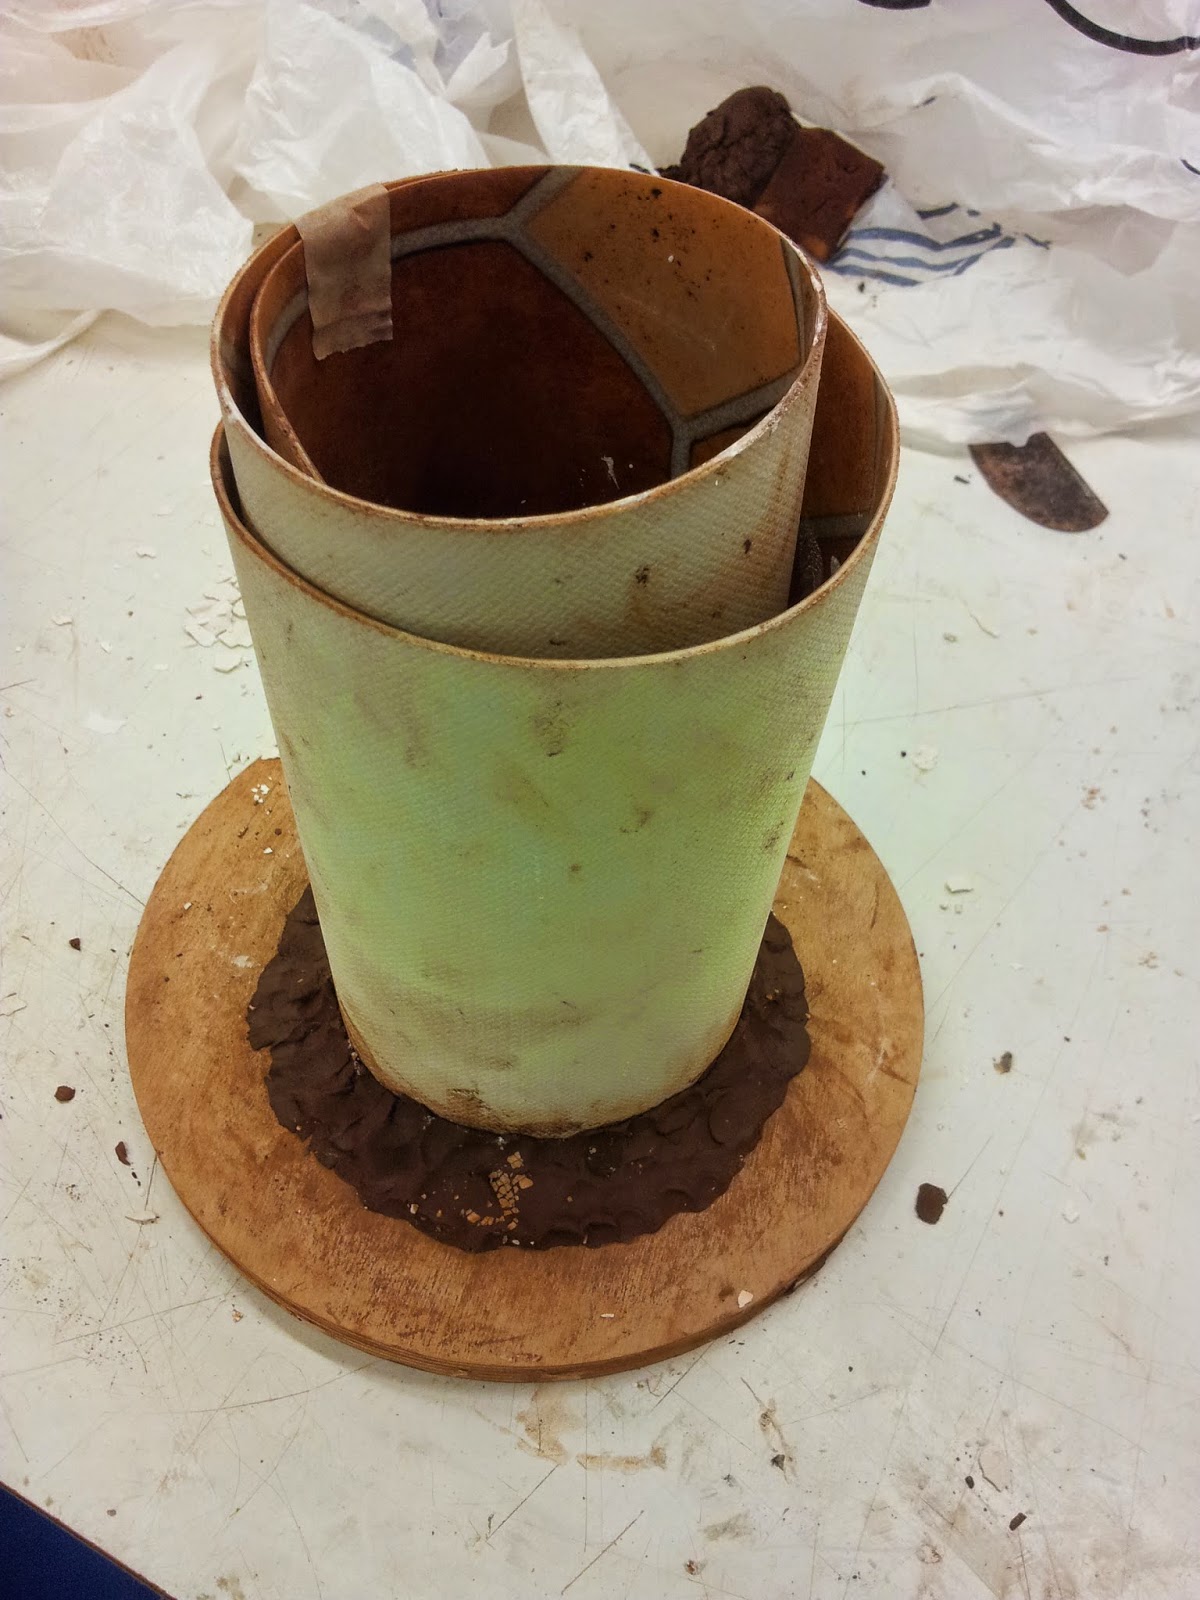
Mould making -
we were told that we were going to be making a mould for a bowl/vase, so the first thing we did was to do some initial sketches of shapes we would want to create.
I had chosen a shape that was small at the base and got larger towards the top.
After I had decided what shape I wanted my mould to be we were told that we had to build the shape up upside down in a block of clay
Below is an image of my finished block to create this we had to make sure that there wasn't any under cuts otherwise when we've poured in the plaster and let it dry the mould won't be able to be used because them the finished piece would come out without breaking. To create the smooth edges we used a kidney bean
The next step was to grab some lino making sure that the piece is taller than you clay mould, using both the clay and masking tap make sure that there are not any gaps where the plaster could leak out.
Now its time to make the plaster, to do this you have to start by getting a plastic container and filling it up a quarter of the way up with warm water then with a spoon slowly add the plaster powder into the water mix it with you fingers, and keep adding more plaster until it is thick. (When mixing make sure to always keep it moving don't leave your fingers in there for a long period of time)
Now you take the mix d plater over to your prepared mould and slowly pour it, you only have to pour the mixture up to the point where it had covered the whole of your clay mould.
Leave it to harder for about 15 minutes, and to test if its dry run one of your fingers nails across the top of the mould if nothing comes off with your nail then it is set and ready to be un wrapped.
Here ^ is a picture of my mould after I had unwrapped it the next thing we did was to release it from the board on the bottom sometimes this comes off easy, but in my case my lecturer had to use a chisel and hammer lightly to release it.
Then you flip the mould over and get all of the clay out from inside, this had been quite challenging for me as I had such as small and slender shape.
Then we left them on the shelves until next week.
This is what i got left with, due to it being so thin mine ended up breaking off a little, but because i now have the mould i can make several more of these.
The artist we looked at for this workshop was Picasso.


No comments:
Post a Comment